How To Seal Concrete Floors: Step-by-Step DIY Guide for Long-Lasting Protection

February 2, 2026

Unsealed concrete in Central New Jersey takes a beating. Freeze-thaw cycles crack it, road salt eats into it, and summer humidity traps moisture, weakening it from the inside out. Left alone, a garage or basement floor can deteriorate faster than most homeowners expect. 


But here’s the good news: sealing your concrete floor is one of the most effective ways to protect it, and much of the work is within reach for a capable DIYer. At Concrete Refresh, we’ve sealed numerous concrete floors across Middlesex, Mercer, and Somerset counties. We know exactly what separates a seal job that lasts from one that peels within a year. 


This guide walks you through the full process, step by step.


Why Seal Your Floors in New Jersey?

There is a staircase in the corner of the room.

Concrete is porous, meaning it contains tiny holes and channels that absorb water, chemicals, and contaminants. In New Jersey, that’s a serious problem. When water enters those pores and freezes during winter, it expands by about 9%, creating micro-fractures that grow with every freeze-thaw cycle. Road salt tracked in from driveways accelerates this damage by introducing chloride ions that break down the concrete matrix.


A quality sealer fills or coats those pores, creating a barrier against moisture, salt, oil, and staining. Sealed floors also resist dusting, the chalky residue that forms when the surface slowly wears away. Whether your concrete is in a garage, basement, or workshop, sealing can significantly extend its service life.


How To Choose the Right Sealer for Your Floor

A close up of a cracked concrete surface.

Not all sealers work the same way. The two main categories are penetrating sealers and topical sealers. Choosing the wrong one leads to problems.


  • Penetrating sealers soak into the concrete and react chemically to block moisture from within. Silane and siloxane blends work well for garage floors exposed to salt and water. They’re breathable, don’t change the appearance of the floor, and typically last 5 to 10 years.
  • Topical sealers sit on the surface and form a visible film. Acrylic sealers add a slight sheen and are affordable, but they wear faster under heavy foot traffic and vehicles. Epoxy and urethane sealers offer the strongest protection. They’re what professionals use for high-performance floors. For homeowners who want that level of durability, our epoxy floor coating services use commercial-grade formulations that far outlast anything available at a hardware store.


For many DIY garage projects, a penetrating silane-siloxane sealer is the safest bet. It isn’t that hard to apply, doesn’t peel, and handles New Jersey's moisture swings without trapping vapor beneath the surface.


Step-by-Step Process for Sealing Your Concrete Floor

A close up of a painting of a river with a reflection of a mountain in the water.

The process is straightforward, but each step builds on the one before it. Skipping or rushing any phase is where most DIY projects go wrong.


Step 1: Clear and Inspect the Floor

Remove everything from the surface. Look for cracks wider than a hairline, spalling (flaking or chipping), and any areas where old coatings are peeling. Patch cracks with a concrete repair caulk and let it cure fully.


Step 2: Clean the Concrete Thoroughly

Sweep, then scrub with a concrete degreaser to remove oil, grease, and grime. A pressure washer set to around 3,000 PSI works well for garage floors. The floor must be completely clean or the sealer will not bond properly.


Step 3: Test for Moisture

Tape a 2-foot square of plastic sheeting to the floor and leave it for 24 hours. If moisture collects underneath, you have a vapor issue that a topical sealer will trap, causing it to bubble and peel. Penetrating sealers handle this situation better. Our grind and seal process addresses moisture concerns by mechanically opening the surface before sealing.


Step 4: Apply the Sealer

Use a 3/8-inch nap roller for most sealers. Work in small sections, applying thin, even coats. Two thin coats generally perform better than one thick coat. Allow the first coat to dry according to the manufacturer's instructions, usually 2 to 4 hours, before applying the second.


Step 5: Allow Full Cure Time

Most sealers need 24 to 72 hours to cure before foot traffic and up to 7 days before they can accept vehicle loads. Rushing this step is one of the most common reasons DIY seal jobs fail.


When To Call a Professional Instead

A close up of a painting of a river with a reflection of a mountain in the water.

Some floors need more than a simple seal coat. If your concrete has extensive cracking, significant moisture problems, or heavy surface damage, professional preparation makes a big difference. Concrete polishing can restore damaged surfaces to a smooth, durable finish before any sealer is applied. Floors in finished living spaces or high-traffic commercial areas also benefit from professional-grade coatings that require diamond grinding equipment and controlled application conditions.


Many homeowners across Central New Jersey start a DIY seal project only to discover underlying issues. That’s exactly the kind of situation where professional results from a team like Concrete Refresh save money over the long run. 


Your Floor Deserves More Than a Coat That Peels in a Year

A close up of a painting of a river with a reflection of a mountain in the water.

Sealing your concrete floor protects it against the freeze-thaw cycles, road salt, and humidity that Central New Jersey delivers year-round. Choose the right sealer for your situation, prepare the surface properly, and apply thin coats with adequate cure time. 


For floors that need more than a basic seal, Concrete Refresh offers professional concrete sealing and coating solutions backed by a 5-Year Workmanship Warranty. Get your free quote now or call (908) 208-3698.

April 9, 2026
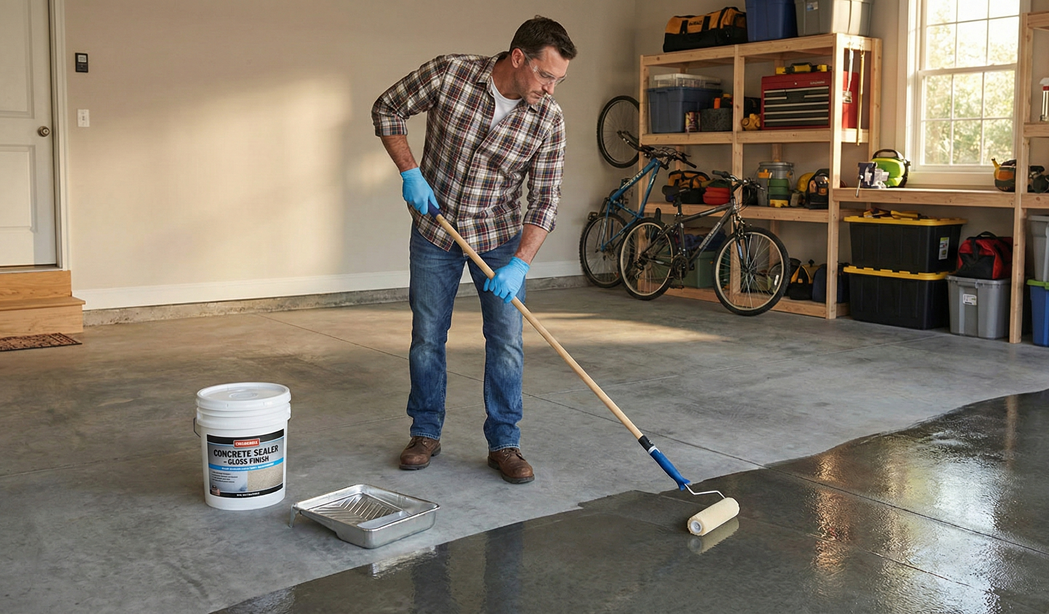
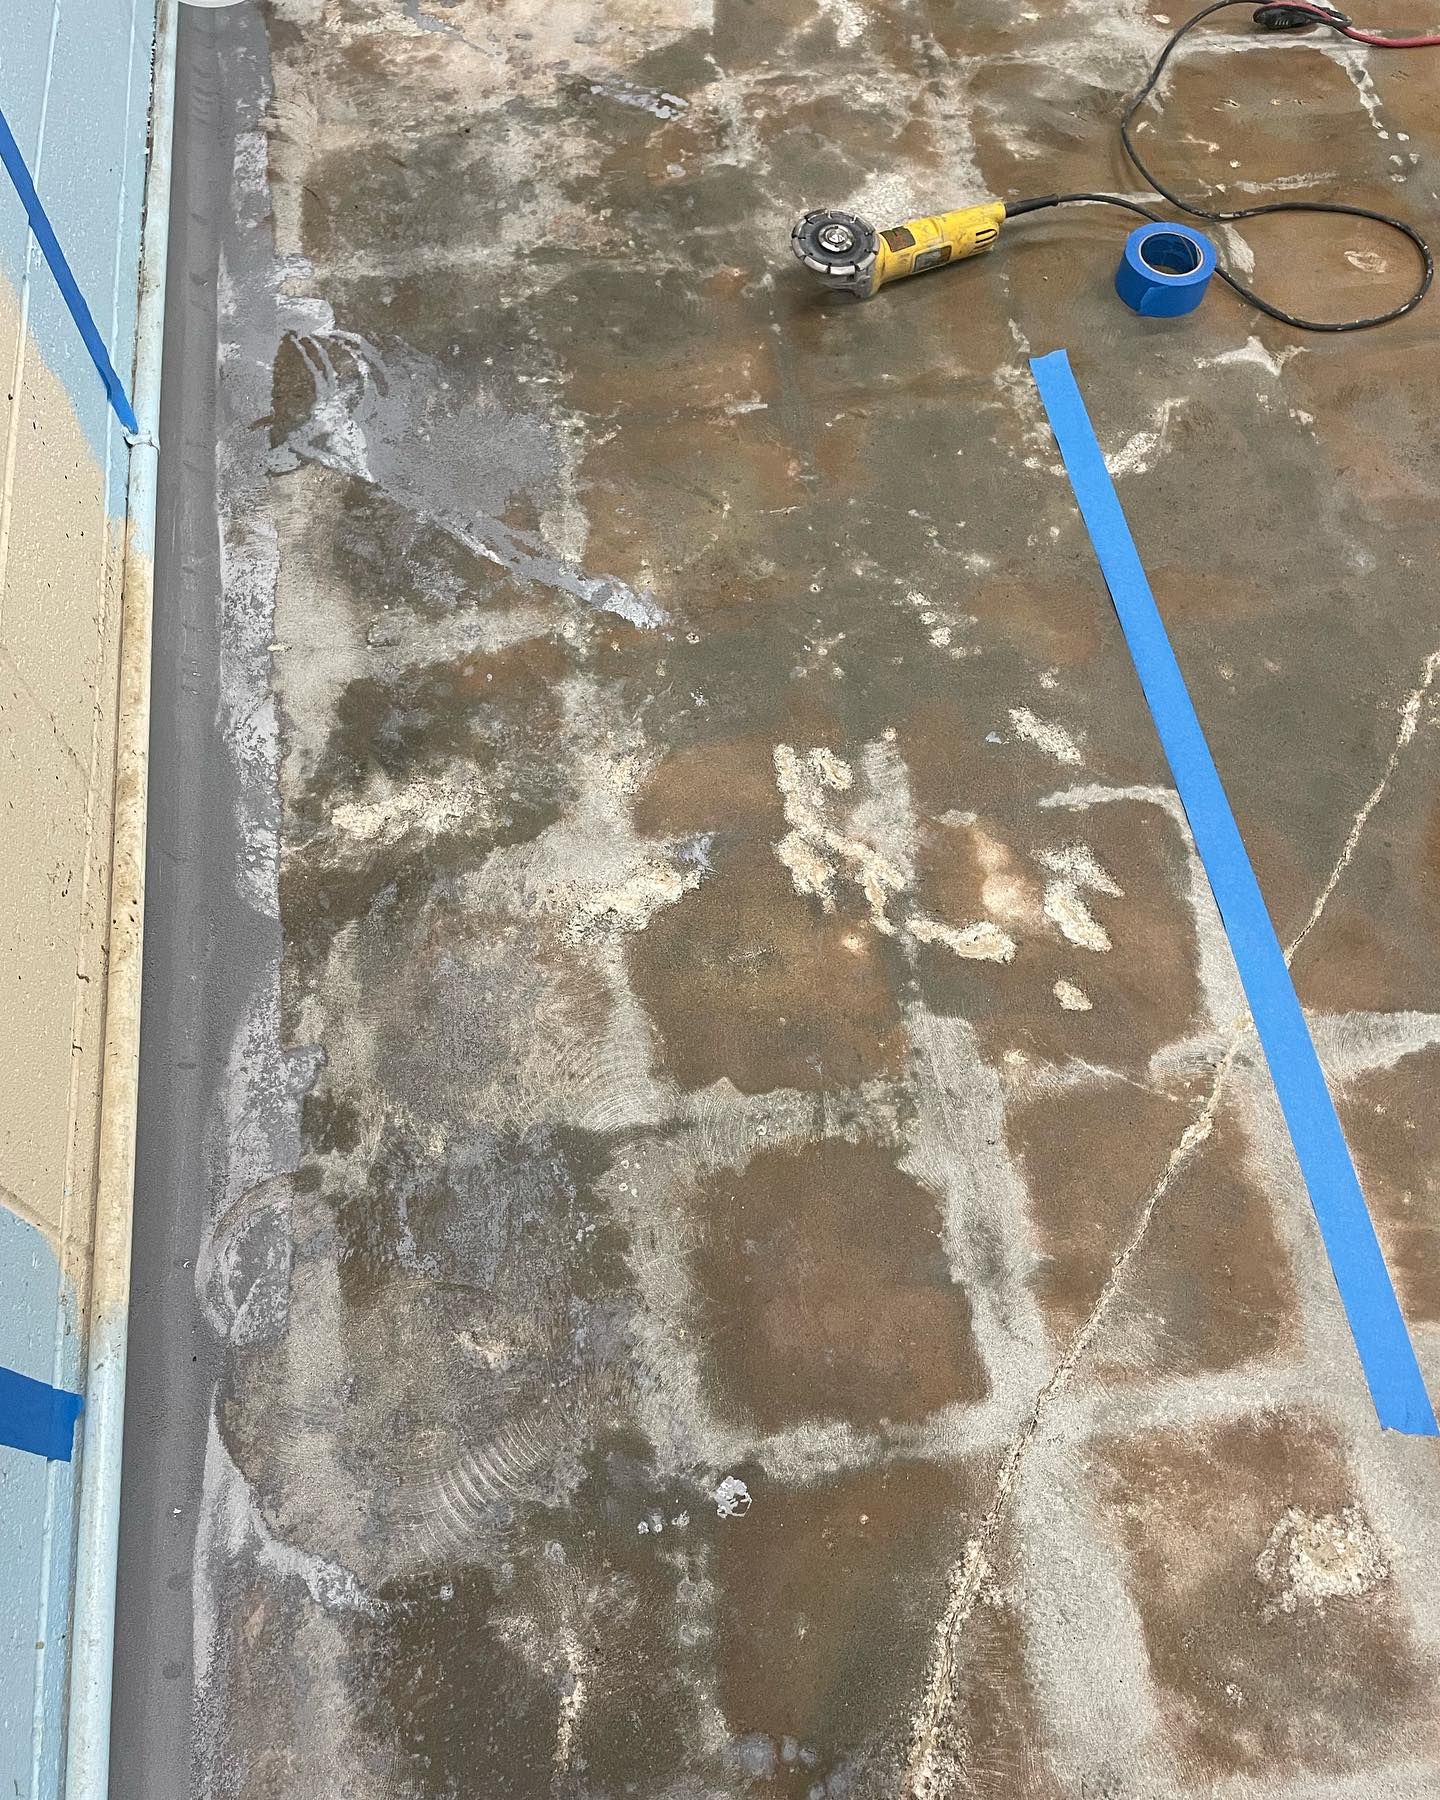
Learn the commercial epoxy floor coating process step by step—surface prep, application, curing, and downtime—for NJ businesses and facility managers.
An empty underground parking garage with purple walls and blue floors.
By Eric April 8, 2026
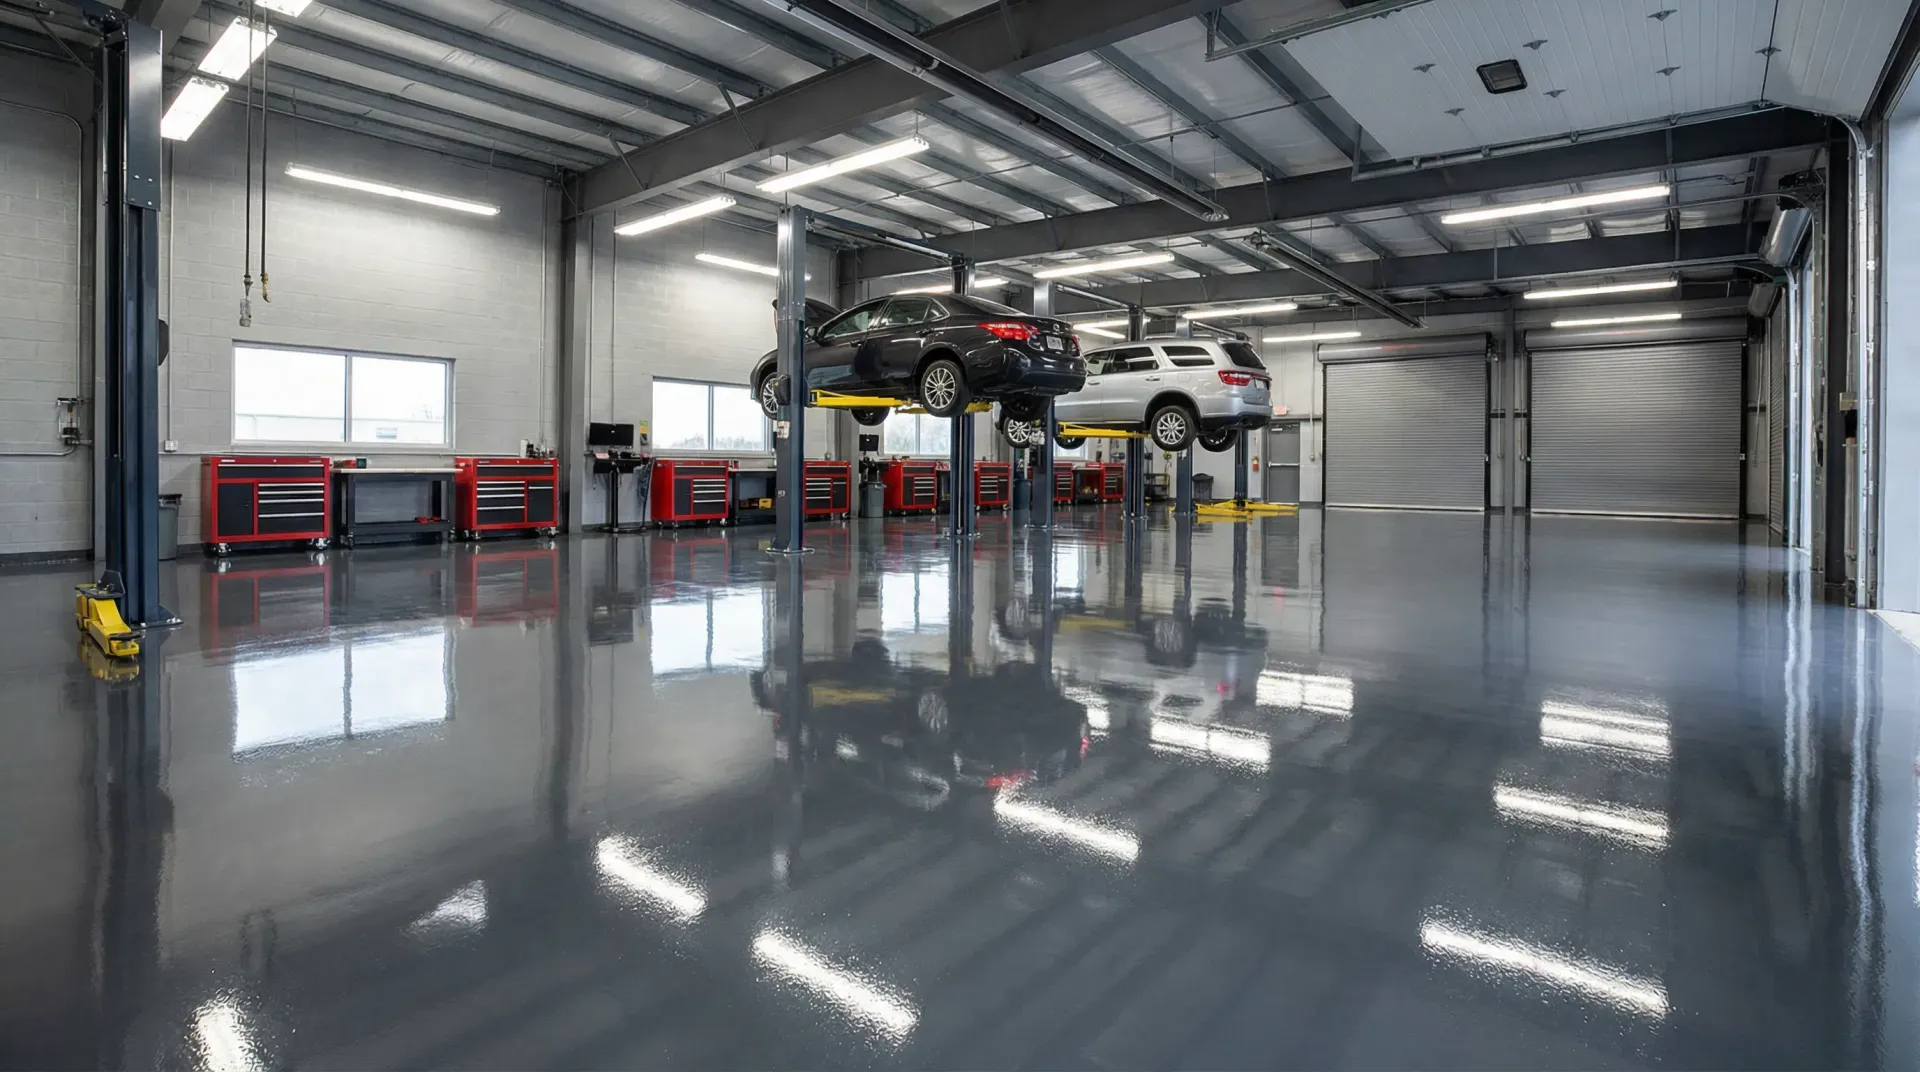
Why is industrial epoxy flooring the top choice for NJ automotive shops and showrooms? Learn about its chemical resistance, durability, & more.
April 7, 2026
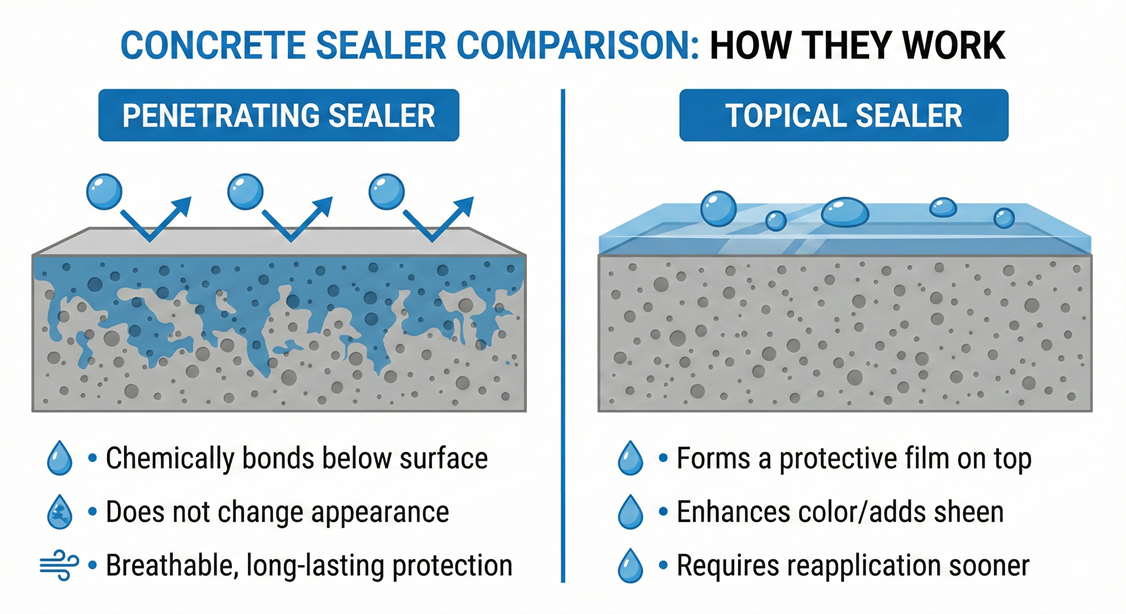
Comparing polyaspartic vs epoxy flooring for NJ commercial spaces? Learn which coating handles downtime, durability, and New Jersey conditions better.
April 6, 2026
Discover epoxy flooring pros and cons for commercial and industrial facilities in NJ. Learn where epoxy excels, where it falls short, and what to use instead.
April 3, 2026
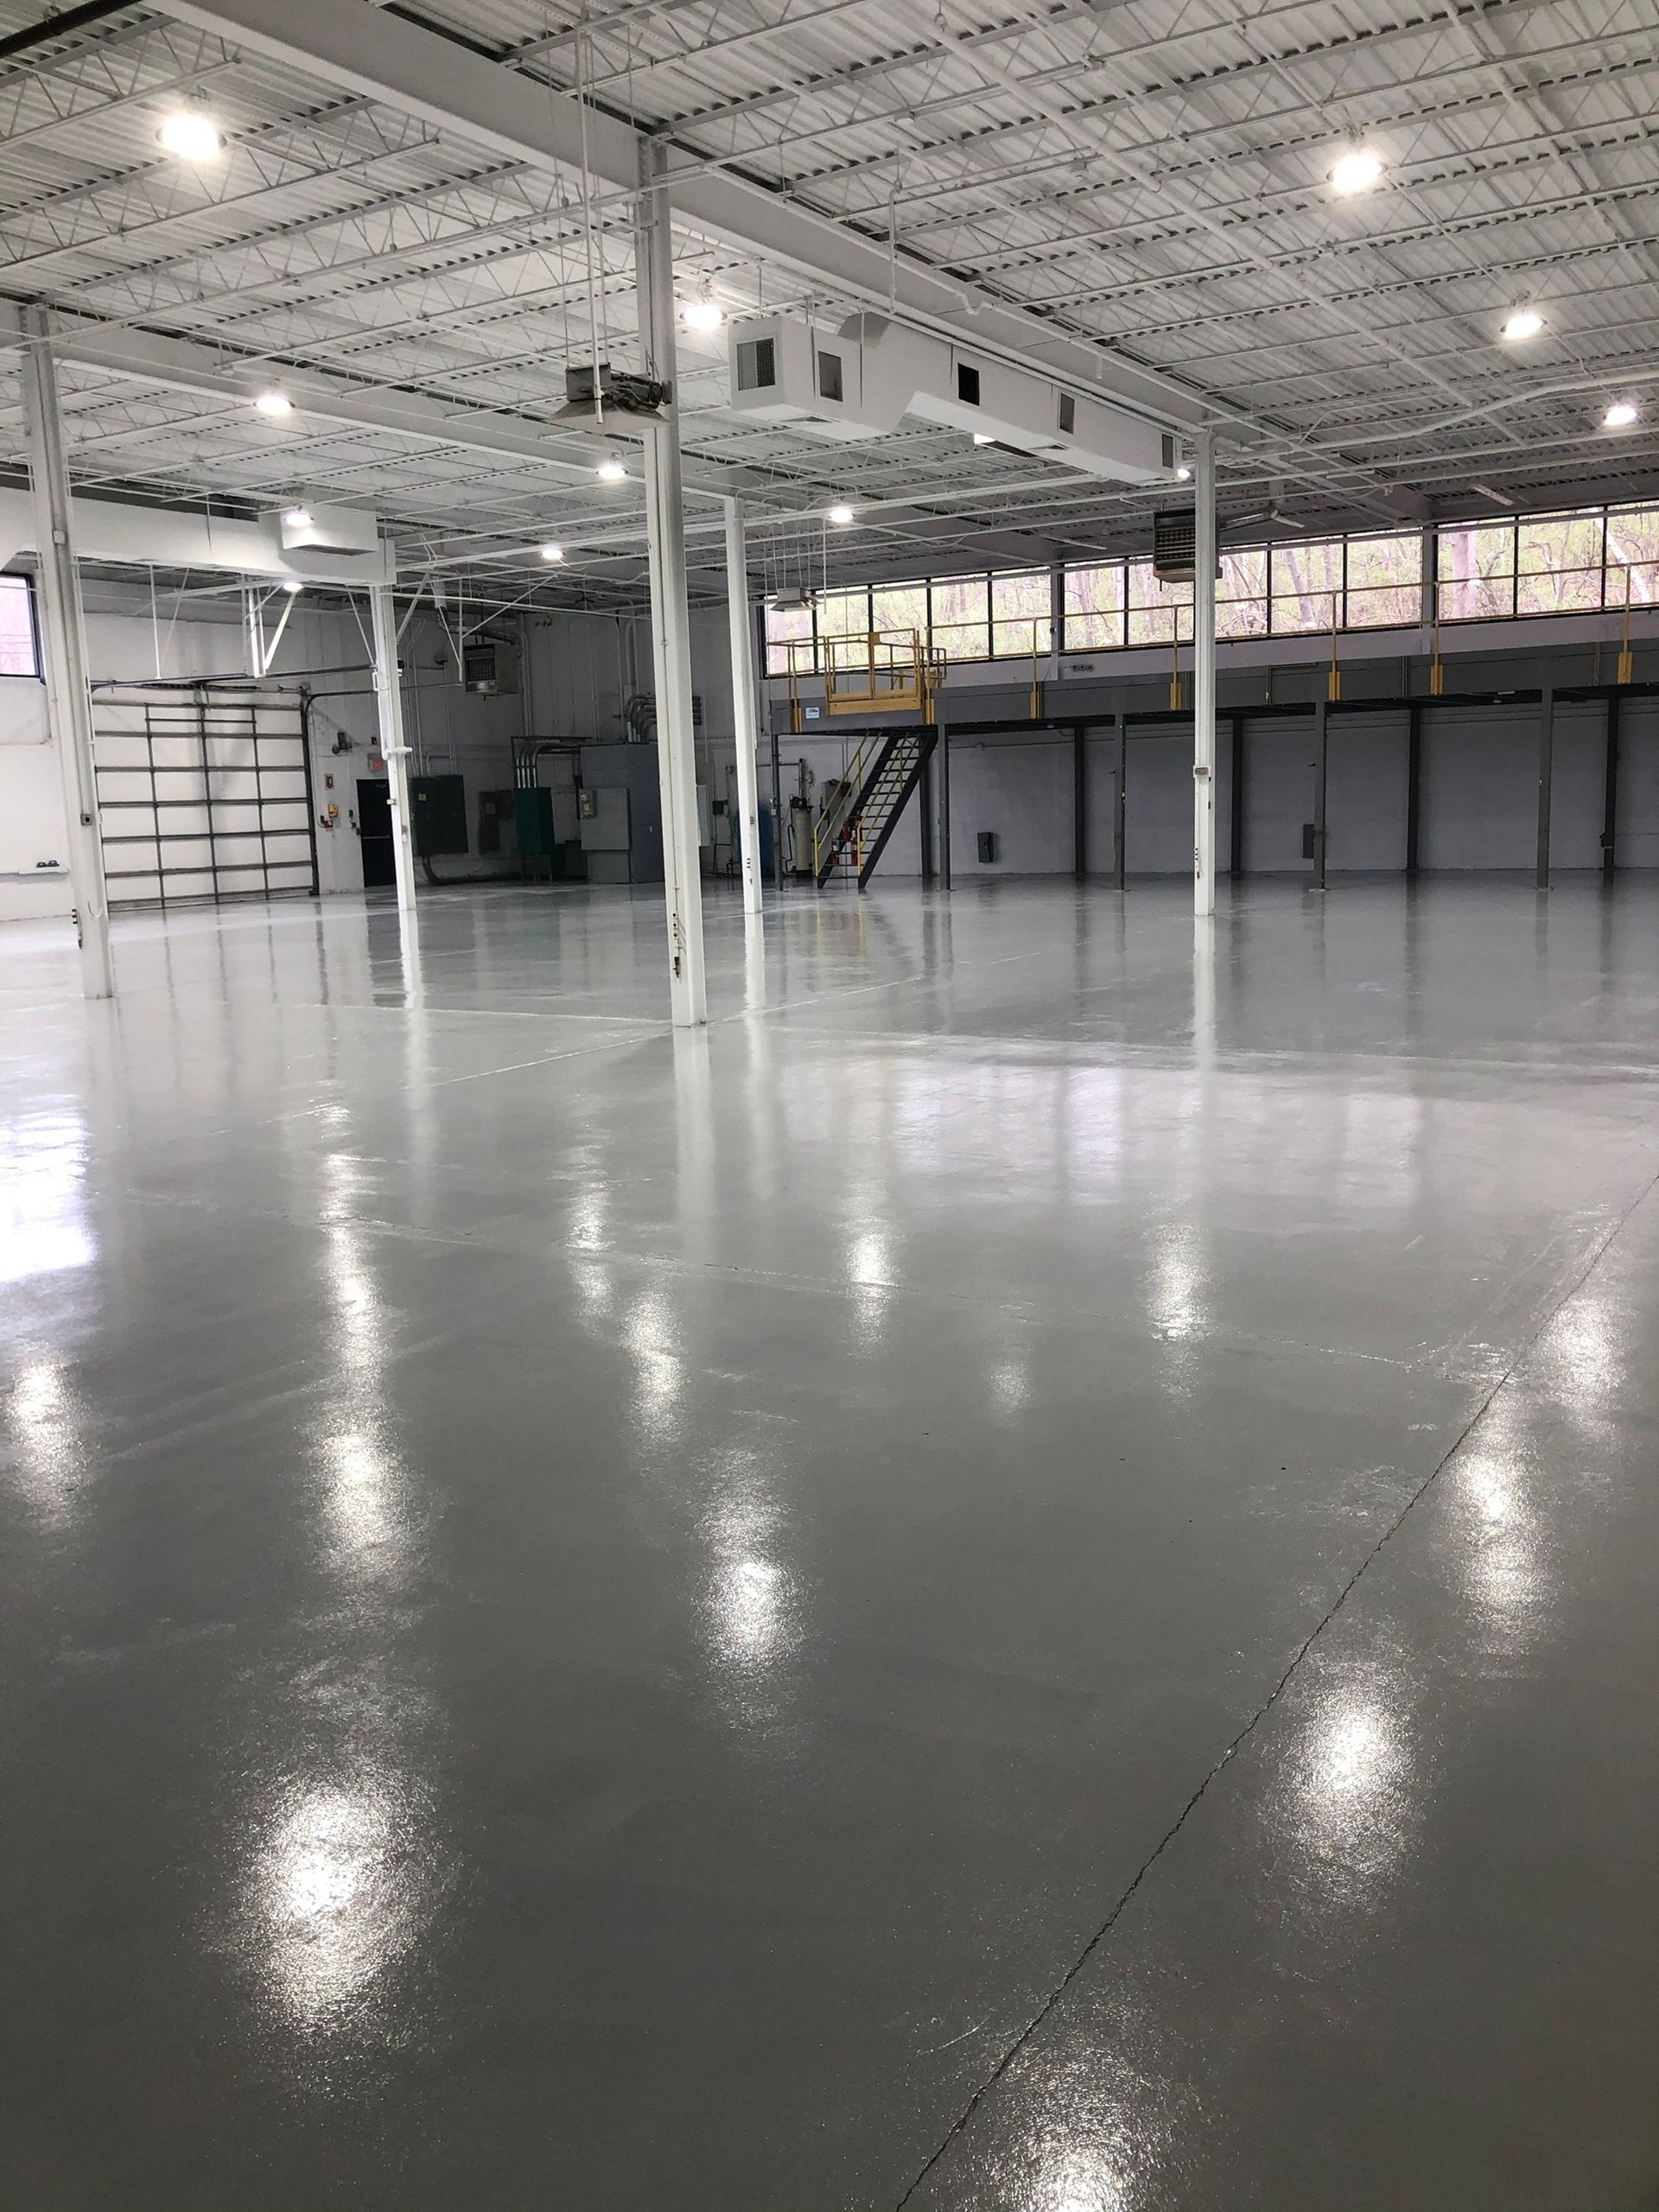
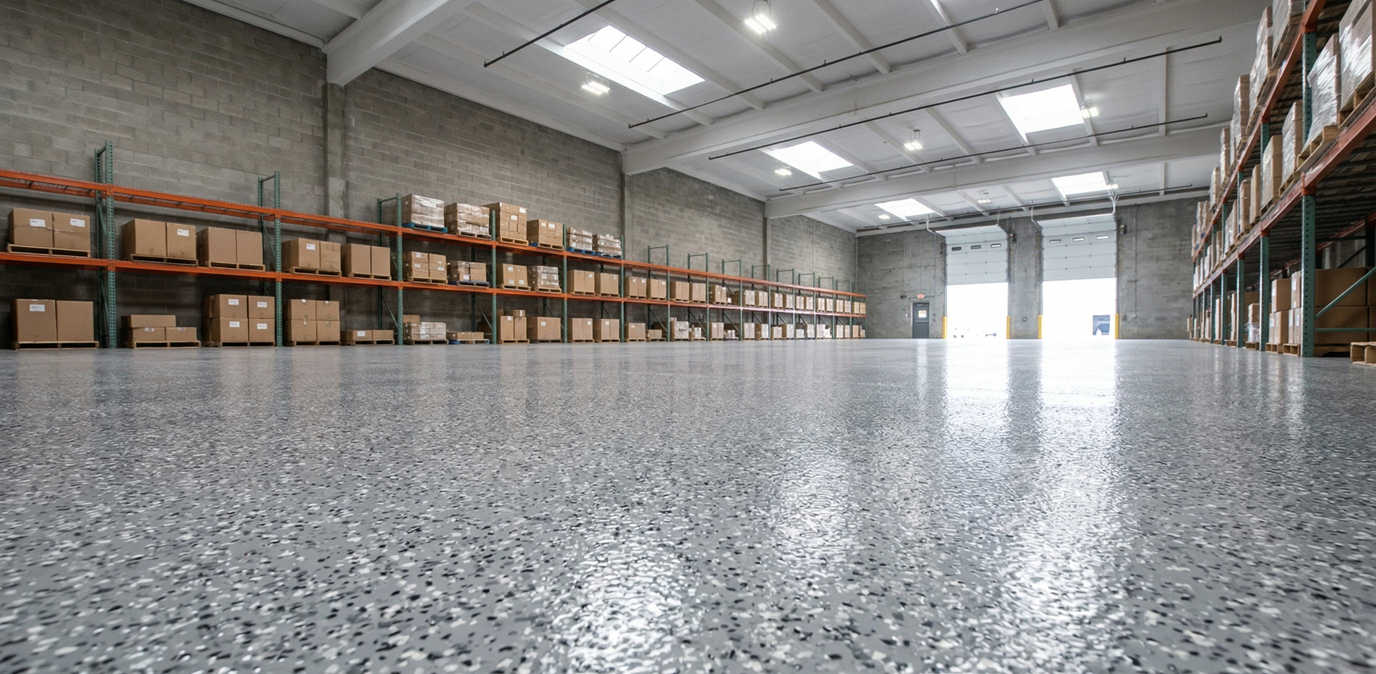
Learn which industrial floor coating is right for your NJ facility—epoxy, urethane cement, or polished concrete—and how each performs in real-world conditions.
April 3, 2026
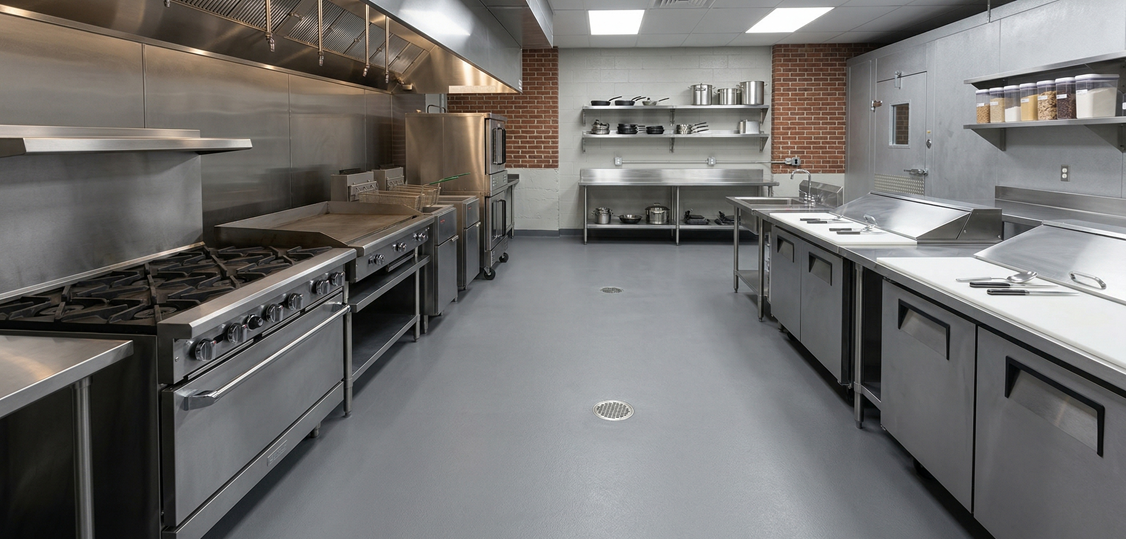
Compare epoxy, tile, and urethane cement for commercial kitchen floors. See which holds up to heat, grease, and health codes in NJ food service facilities.
April 2, 2026
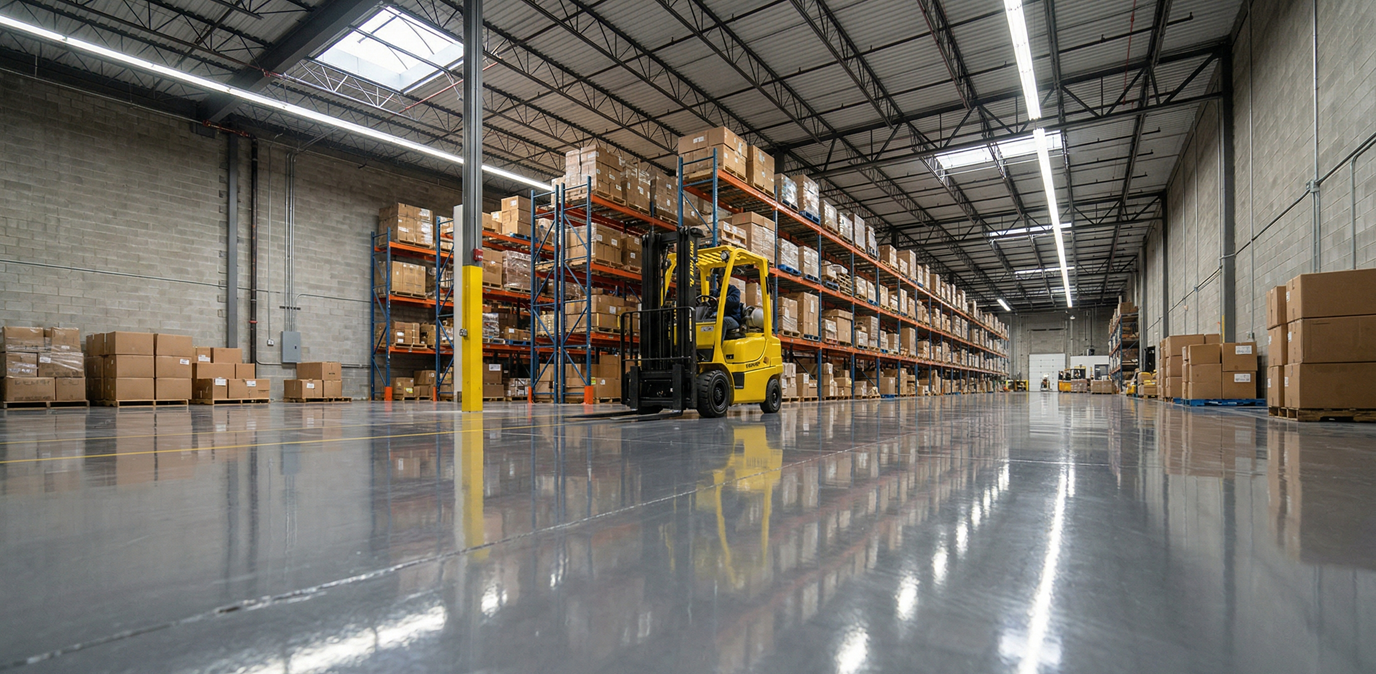
Commercial epoxy flooring in NJ costs $3–$12/sq ft installed. See what drives pricing, system options, and what to ask before signing a quote.
April 1, 2026
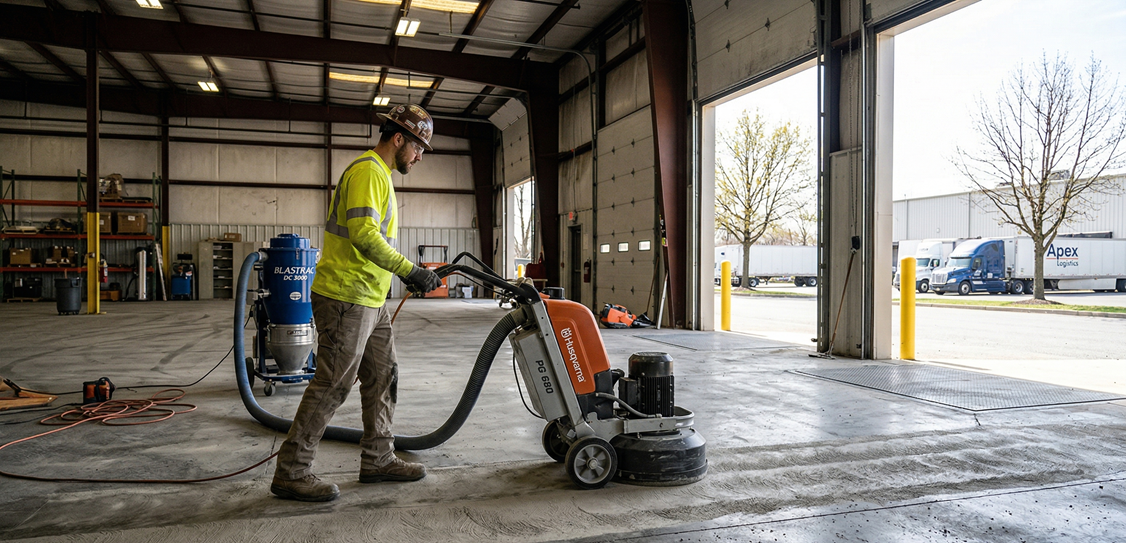
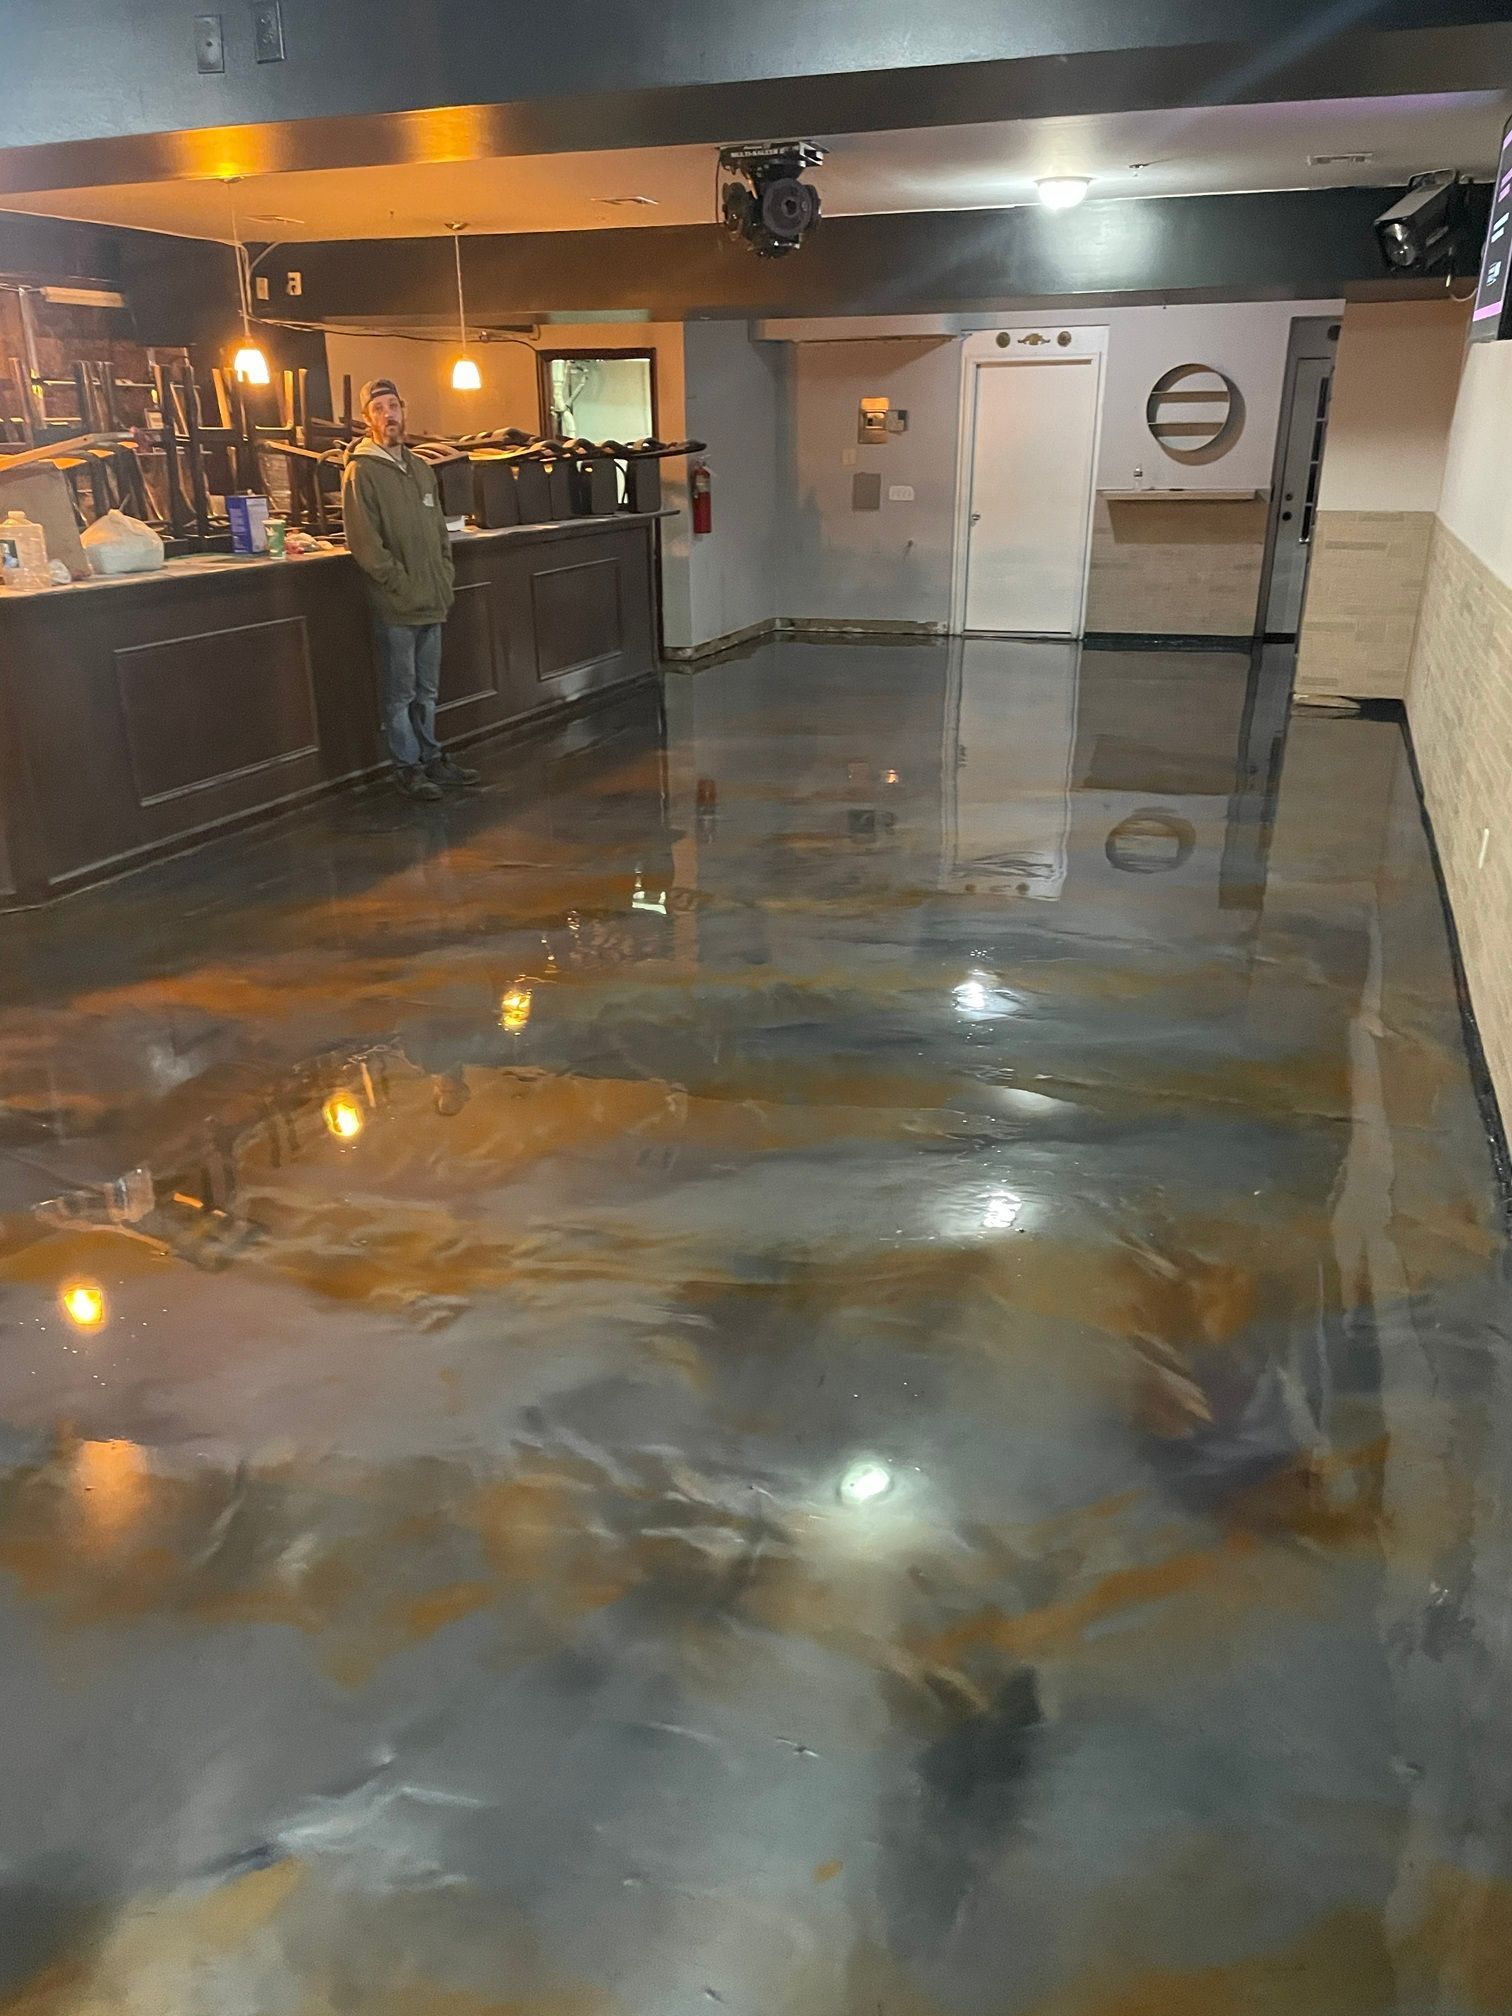
Spring is the best time to install commercial epoxy in NJ. Learn why temperature and timing matter, and how Concrete Refresh carefully prepares NJ floors.
March 11, 2026
Can you epoxy outdoor concrete? Yes, but standard epoxy fails in NJ's climate. Learn which epoxy systems work for patios and pool decks, and which don't.
March 9, 2026
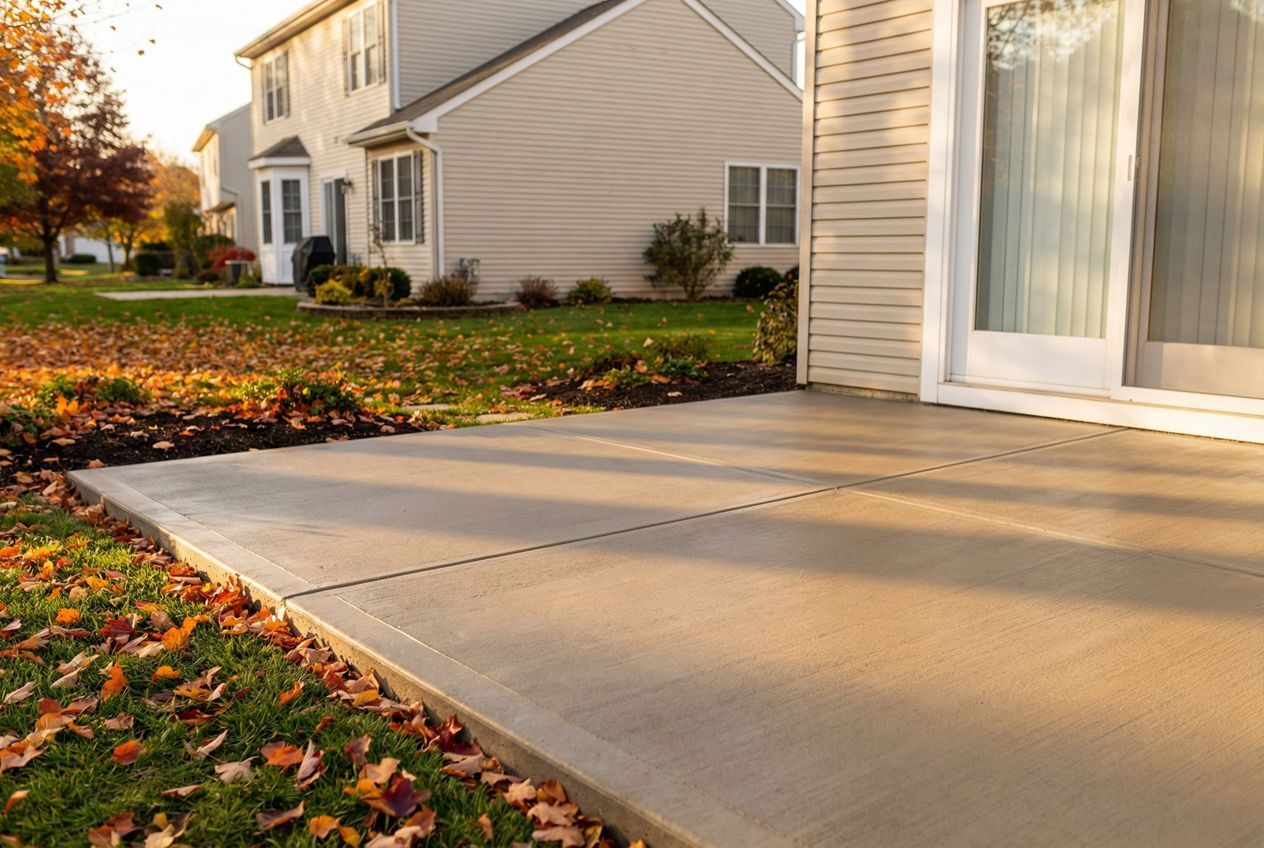
Find the most durable outdoor concrete coating for NJ patios. Compare options, understand freeze-thaw performance, and get expert advice from Concrete Refresh.
Show More